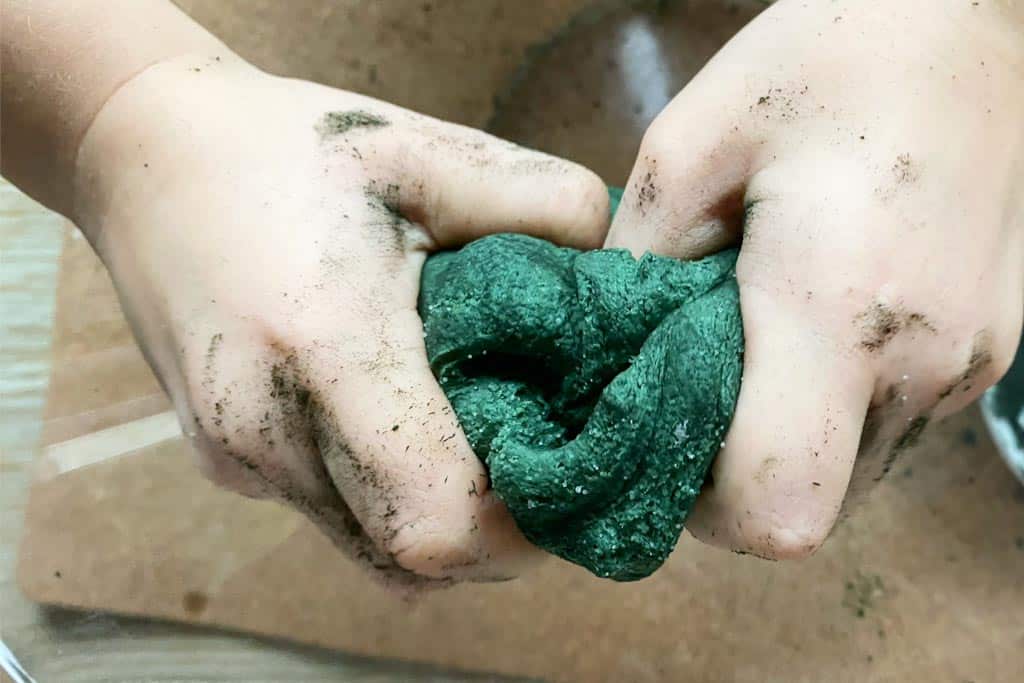
Slime is yucky. Slime is fun!
The first time you push your fingers into it, you’re not so sure. You hesitate.
And that’s the point.
Slime is perfect for sensory play, a malleable material that should feature regularly in your child’s early explorations. The slight revulsion toddlers and preschoolers feel when they approach slime and similar materials like Gak and Oobleck is a good thing. As they learn to push past their reluctance, they increase their tolerance of the unknown and their confidence grows.
Classic slime recipe (with borax)
Ingredients
- 240ml of clear or white PVA school glue
- Food colouring (optional)
- Glitter (optional)
- 1 teaspoon of borax mixed with 240ml of warm water
Instructions
- Pour the glue into a mixing bowl.
- If you’d like to add colour or glitter to your slime, now is the time! Add your chosen food colouring and glitter to the glue and stir.
- Slowly add the borax and water mixture to the glue, stirring continuously. Watch as the slime starts to form.
- Once the mixture pulls away from the sides of the bowl and is less sticky to touch, begin kneading it with your hands. The more you knead, the better the texture will become.
Remember to supervise younger children during playtime, as even though slime is great for sensory play, it is not edible.
Borax-free slime recipe
Ingredients
- 240ml of clear or white PVA school glue
- Food colouring (optional)
- Glitter (optional)
- 240ml of water
- 1 teaspoon of bicarbonate of soda (baking soda)
- 60ml of contact lens solution
Instructions
- In a mixing bowl, combine the glue and water until well mixed.
- Stir in your food colouring and glitter if you’re using them.
- Add the bicarbonate of soda to the mixture and stir until combined.
- Finally, add the contact lens solution. The mixture will start to come together to form the slime. Keep stirring until it becomes firm and pulls away from the sides of the bowl.
- Knead the slime with your hands until it reaches the desired consistency.
Just like with the classic recipe, ensure that your children know that slime is not for eating.
Slime recipe variations
- Fluffy Slime. Add some shaving foam to your mixture for a fun, fluffy texture.
- Butter Slime. Mix in some model magic clay to make your slime spreadable, just like butter!
When it comes to cleaning, store your slime in an airtight container to keep it fresh. If left out, it will dry up and lose its elasticity. Slime can get a little messy, but it can be easily cleaned off from surfaces with warm water and soap.
Creating slime offers an exciting opportunity for your children to get their hands dirty, express their creativity, and learn something new. So, why not roll up your sleeves and immerse your household in the slimy fun?
What is Borax and is it safe for children?
Borax, or sodium borate, is a naturally occurring mineral compound commonly used as a household cleaning agent. It’s also a popular ingredient in many slime recipes due to its role in the chemical reaction that forms the slime’s unique texture.
However, there have been debates about its safety, particularly when used in children’s activities like slime making. While Borax isn’t harmful when used properly, it can pose risks if not handled with care. It can cause skin, eye, or respiratory irritation with excessive exposure. Moreover, it’s not safe to ingest, so it’s important to supervise children closely when they’re playing with slime made with Borax.
Many parents and educators opt for Borax-free slime recipes, especially when engaging younger children who might be prone to put things in their mouths. If you choose to use Borax, ensure the play environment is supervised, and the children know that the slime is not for eating. Always wash hands before and after play. In case of skin irritation, discontinue use and wash with warm soapy water.
Remember, safety comes first when it comes to fun and educational activities. Whether you’re making Borax-based or Borax-free slime, ensure that you create a safe and engaging environment for your children.


