What is Water Play?
Water play offers open-ended sensory exploration and learning that introduces foundational concepts in physics, biology, and math. While some may believe that the endless attraction to water play simply revolves around fun, research shows that children learn with water play much more than you might think.
Water play offers children the opportunity to use important scientific skills including observation and inquiry as they investigate the cause-and-effect of their actions in the water. Water play becomes preschool science as children consider and experiment with different factors that affect their conclusions.
Why Are Water Experiments for Preschoolers Important?
Incorporating water experiments into preschoolers’ playtime offers numerous advantages, something I have observed many times while working with children. The benefits of incorporating water experiments for preschoolers in your water play include:
- Children build foundational science concepts.
- Children increase their development of motor skills.
- Water play encourages creativity and imagination.
- Water play stimulates communication and language skills.
Five Easy Water Experiments for Preschoolers
Preschool water experiments may sound daunting, but you don’t need any certifications to begin doing preschool science with your children. Simple experiments that feel like open-ended play help begin conversations, observations, and skills related to math and scientific principles they need to develop.
1. Lava Lamp
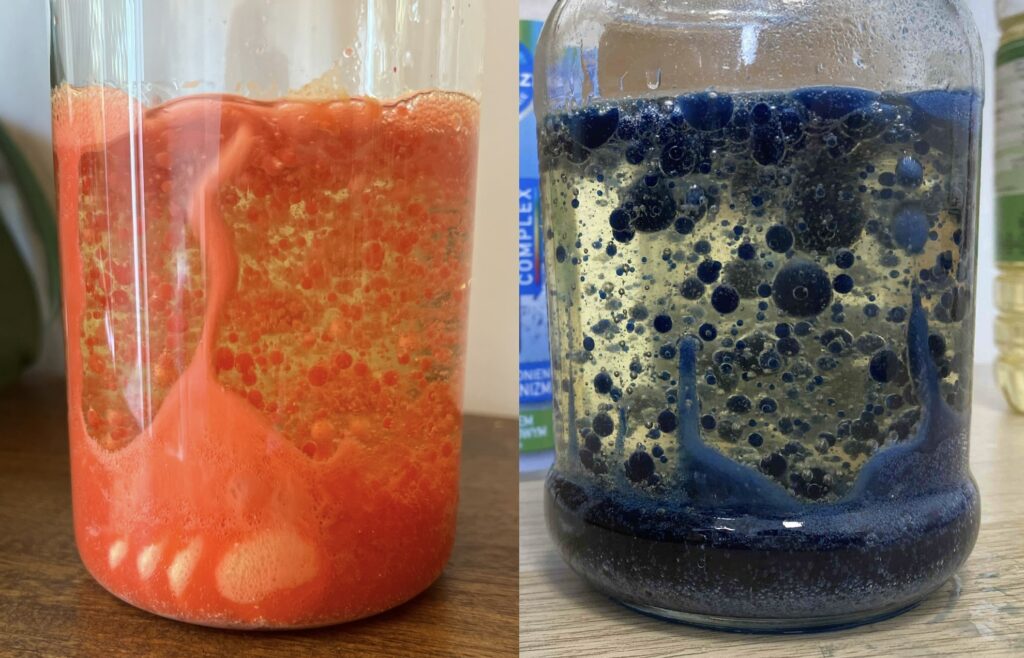
You will need:
- container that is clear, eg. a water bottle
- food coloring
- oil
- effervescent tablets, e.g. alka-seltzer or multivitamin
Lava lamps mesmerize all on their own, but creating one for preschoolers allows them to discover new knowledge.
Just grab a container, add some water colored with food coloring and then add oil. Once the oil and water separate, drop in several tablets for the best results.
Explain to your child that oil separates from water due to their different densities. Water has a higher density, which is why it stays at the bottom of the container. The floating of the colored bubbles is possible because of the carbon dioxide being produced. Such a bubble has a very low density, so it rises to the top. As the bubbles pop, the denser water will drop to the bottom.
It swirls around like a real lava lamp!
2. Spreading Pepper
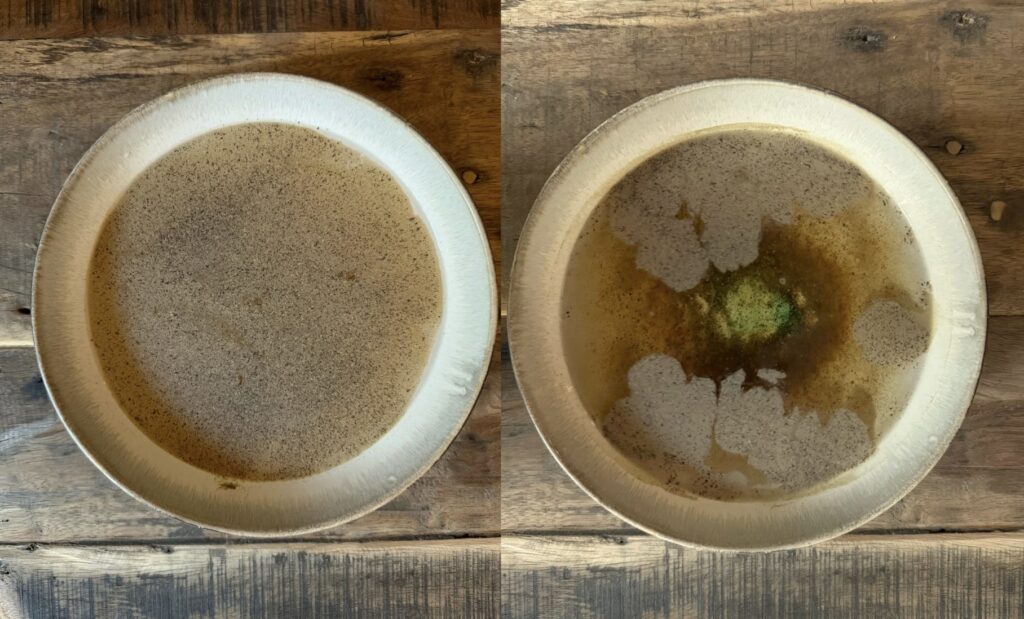
You will need:
- plate
- pepper
- detergent (e.g. liquid soap)
Another quick setup that just requires a simple plate can allow children to observe properties of water, such as surface tension. Cover the bottom of the plate with water then sprinkle pepper across the surface. Let them sprinkle the pepper themselves.
Add a drop of detergent. You won’t have to ask what happened because they will likely exclaim how the pepper suddenly moves to the edges. Since the detergent broke the surface tension, the pepper followed the water.
3. Droplets and Pennies
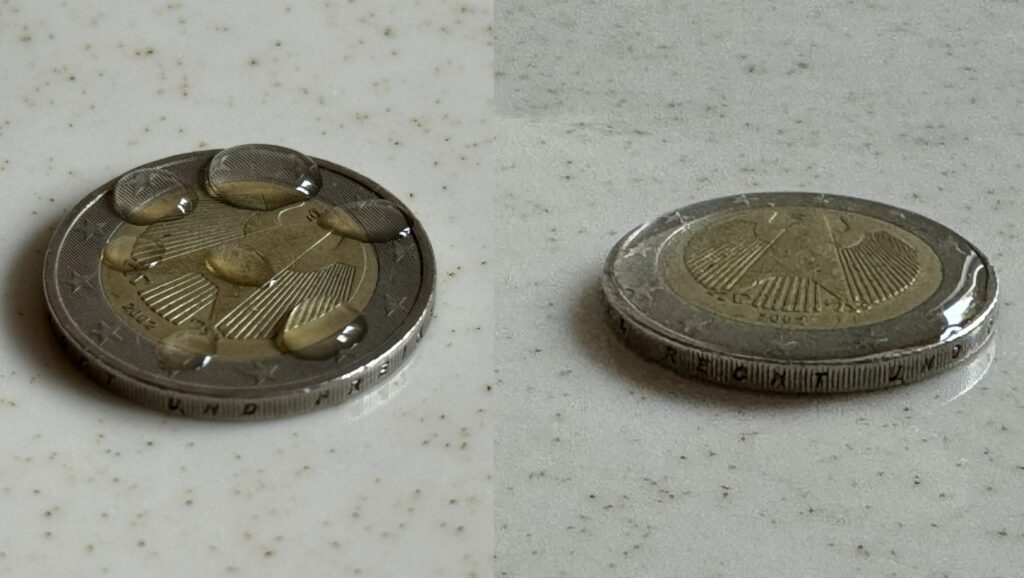
You will need:
- penny
- eye dropper or straws
If you have a penny and an eye dropper or straws, you can create this simple preschool water experiment. Just lay a penny on a counter, tabletop, or in a plastic bin. Have your preschooler drop water droplets, one at a time, onto the surface of the penny. If they don’t have the coordination or motor skills to do it, you can assist and have them count as you drop.
It’s a great way to introduce them to tally marks and to discuss surface tension. They will be amazed at how many drops can fit on a tiny coin due to the surface tension of the water keeping it from falling over the edge. This experiment can be fun to repeat.
4. Floating Eggs
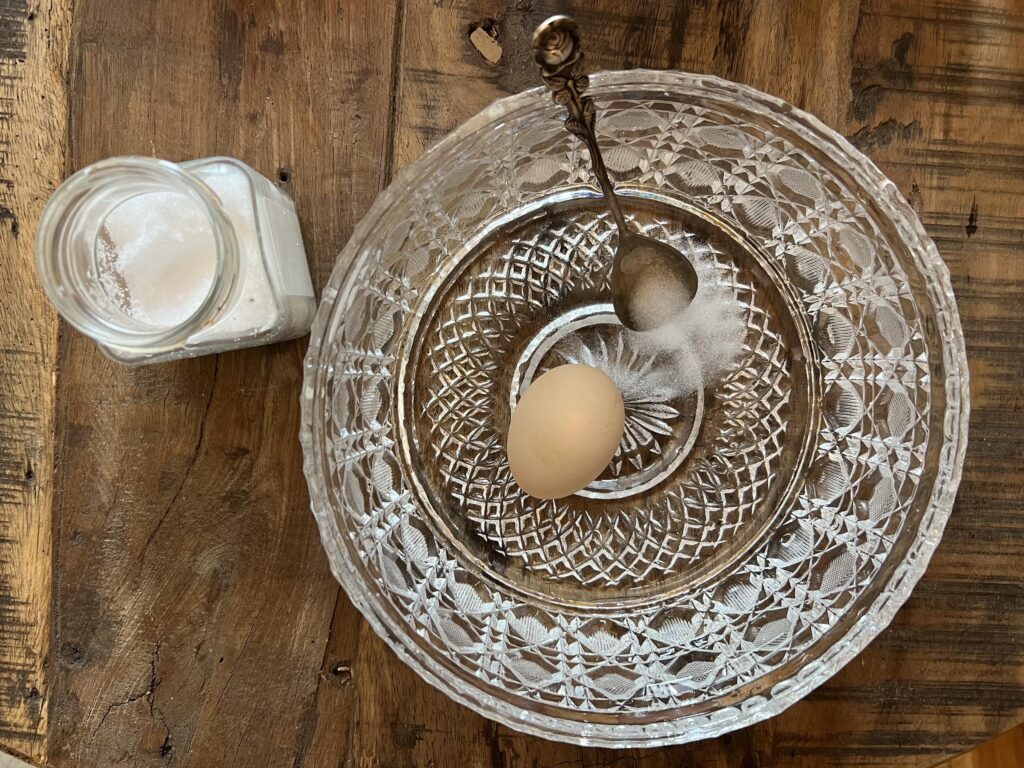
You will need:
- glass container
- egg
- salt
Another fun way to explore flotation and density can be to see how much salt you need to add to water before an egg can float. Use a glass container filled with water so children can see, as you carefully drop in an egg, that it sinks to the bottom.
Add salt, a little bit at a time, while stirring so that it dissolves. Once you notice salt crystals falling to the bottom while you stir, you’ll know you’ve added enough. After enough salt dissolves, the egg will float.
Great discussions about why the egg sinks then floats can be had with this experiment. Walk them through how you cram more matter into the glass when adding salt crystals, and see if they can guess that the water becomes so dense that it can finally hold up the egg.
5. Floating and Sinking Boats
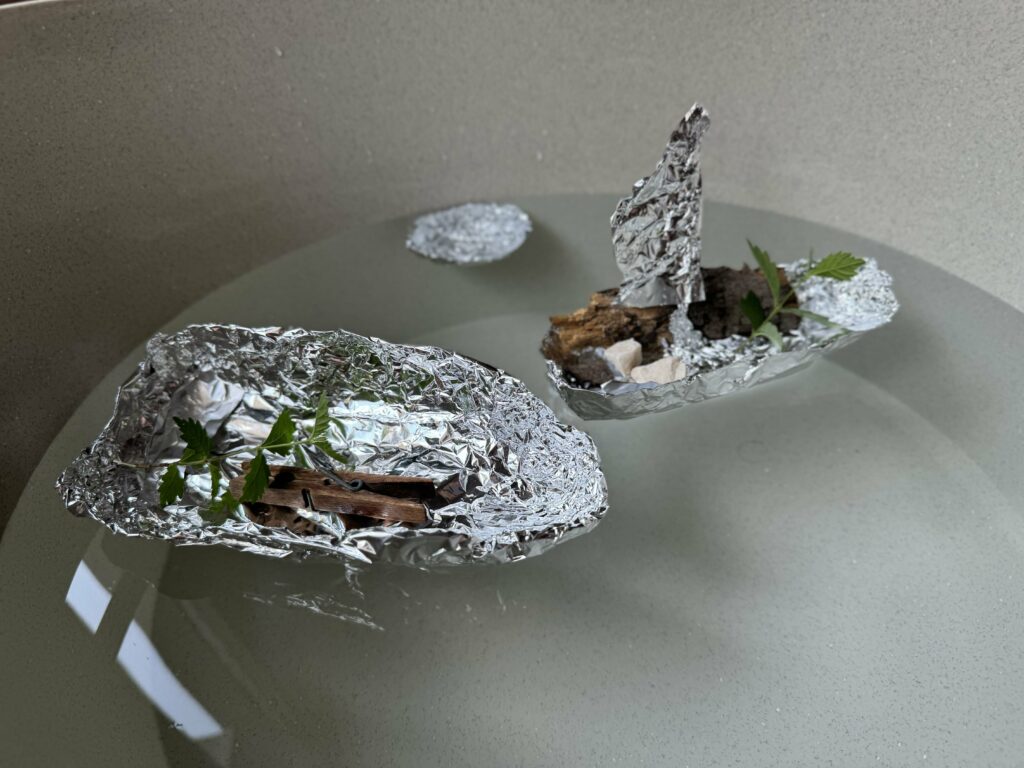
You will need:
- container
- aluminum foil
- marbles
- different small objects to put on a boat
Use aluminum foil, some marbles, and a container of water and see what kinds of boats your preschoolers can make. Showing them different types of boats in books can inspire them to try different shapes. Ask them to create a boat that floats and holds marbles. Although a high-walled boat that displaces water works best, allow them to experiment with different shapes.
You can also use small plastic tubs with lids and put different objects inside to see which tubs float and which ones might sink.
Introduce the concept of density and explain that it is a property that determines whether objects sink or float in water. The density of objects is calculated for their entire volume, including any “empty spaces” inside. This is why even large, heavy ships do not sink in water.
Two experiments for the patient
1. Wandering Water (Antigravity Experiment)
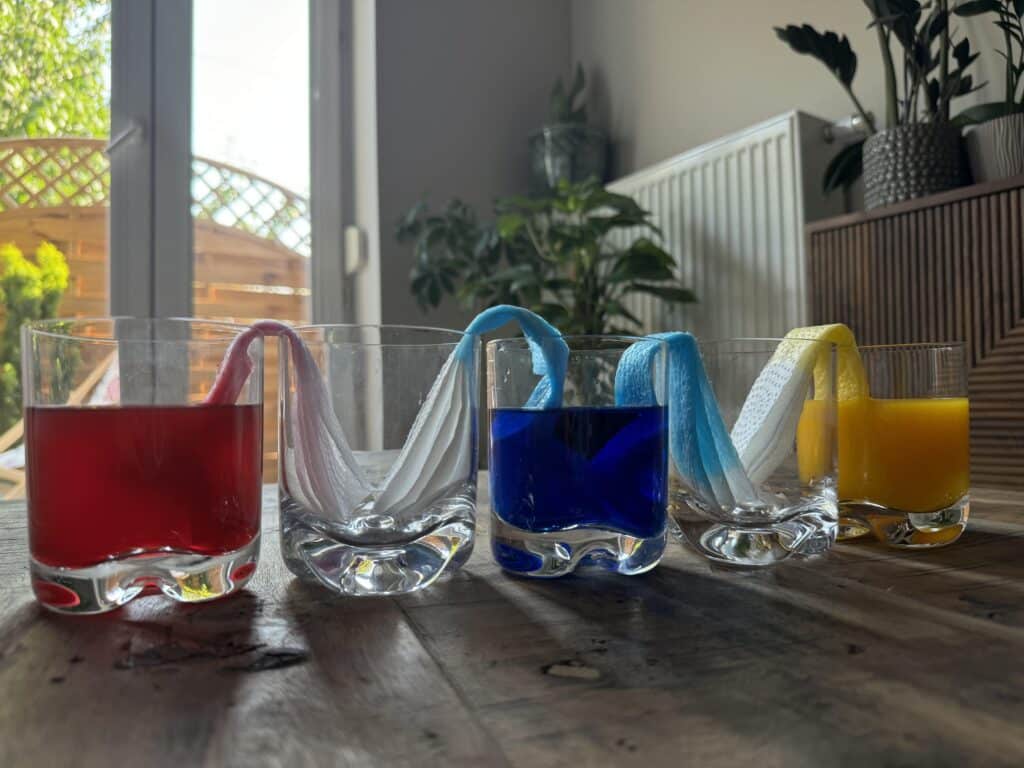
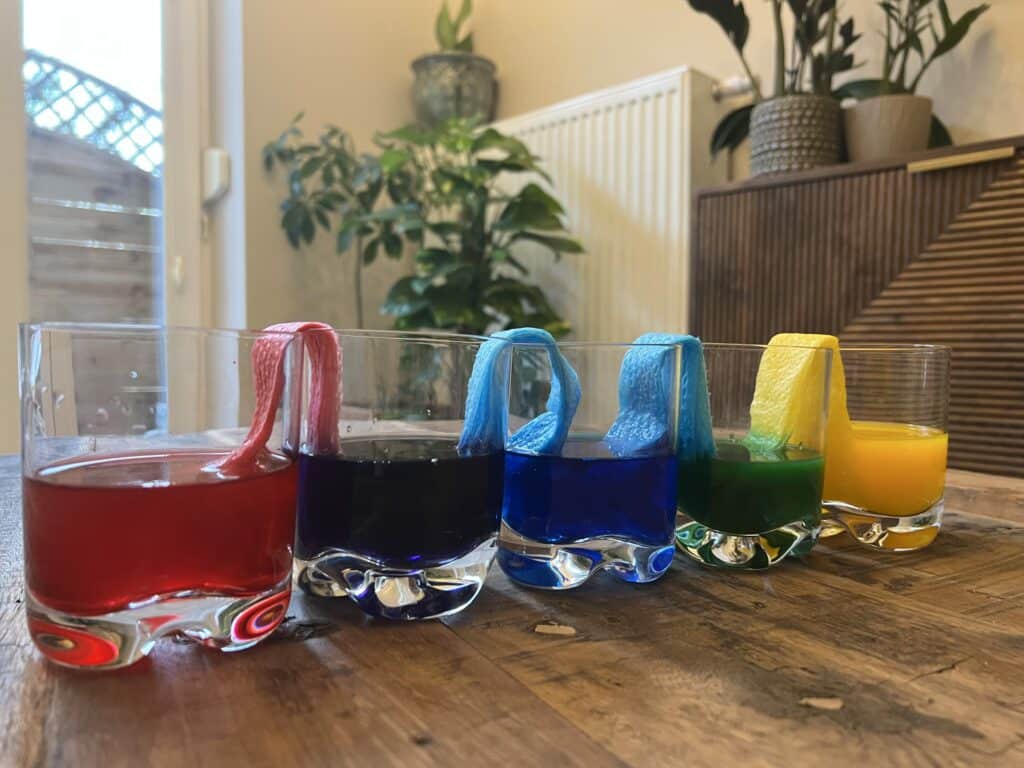
You will need:
- glasses or jars, preferably of similar height,
- water
- food coloring
- paper towels
Leave half of the jars empty and fill the rest with water (about ¾ of the container’s capacity) mixed with food coloring (each jar should have a different color). Arrange the jars alternately – with colored liquids and empty ones.
Fold paper towels into accordion shapes and place them in the glasses so that one end is submerged in the colored liquid and the other end is in the empty glass. This way, each glass (except the first and last) will have two pieces of paper. Now, you need to wait a bit. You can observe how the water starts to travel. Check the results after about an hour or two – the kids will surely be delighted.
Explain to your child that the effect of the experiment is possible due to capillary action, which allows water to travel from the roots of trees to the leaves at the very top. The paper towels we used during the experiment are made from plant fibers, which is why the water could travel upward through the small gaps between these fibers.
It’s also a good opportunity to talk about mixing colors. The newly created shades might inspire your child to another activity and independent testing – how we can create new colors from the ones we already have.
2. Color-Changing Flowers and Veggies
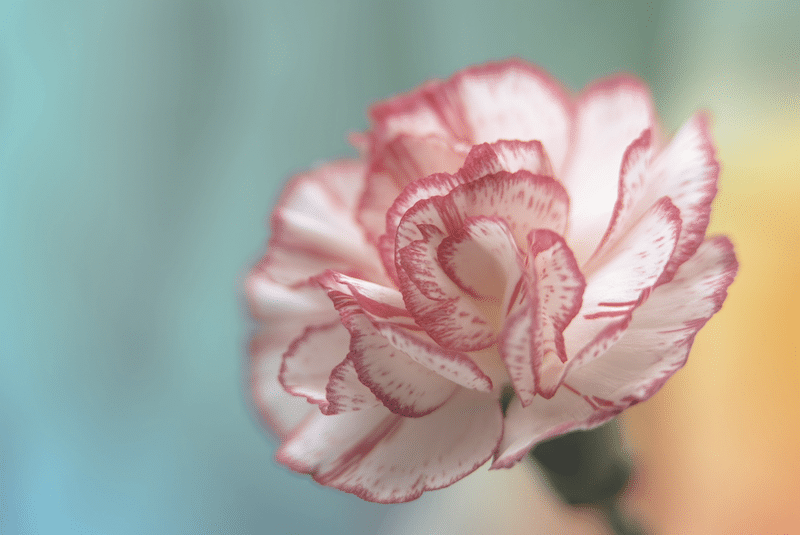
Try a similar experiment to the previous one, which can help reinforce new knowledge, test the explored phenomena again, and also be great fun!
You will need:
- flowers or veggies
- food coloring
- jars/glasses
Do plants “drink” water?
Plants draw water up through their stems, and nothing like white carnations or celery makes a better example. Grab some cups and add full-strength food coloring to the bottom. Make a fresh cut in a stalk of celery or a carnation stem, and then place the cut end into the food coloring. You may need sturdy cups or a way to keep the cups from falling over.
The plants will draw the food coloring up their stems, and the petals on the carnation will turn colors, while you can cut open the celery and actually see how the food coloring works its way up the stem.
You can conduct a similar experiment with Chinese cabbage leaves and other light-colored flowers. Experiment as much as you want!
Depending on the plants you choose, you might have to wait two/three days to see the results.
Final Word
Water play is a fantastic way to blend fun with education. By incorporating these simple water experiments into your child’s playtime, you help them build essential skills and ignite a passion for learning. I hope these activities bring joy and discovery to your summer days.
Happy experimenting!


